Pesticides: Training Tools
Video Resources – More Information on Pesticides
This section provides video suggestions that may help in preparation for the training or can be utilized as a training tool to help trainees understand theme concepts. Some of the videos can also be used as visual demonstrations when you are not able to set-up real-life activities. Here are some suggested video resources that contain relative information, but please feel free to research others:
- U.S. Environmental Protection Agency: Pesticides and Food Safety
- United States Department of Agriculture/ Virginia Tech Pesticide Programs: Larry the Label
- U.S. Environmental Protection Agency: Green Gardening
- University of California: Safe Handling of Pesticides
- National Pest Management Association: What is IPM?
- University of Wyoming Extension: Understanding Pesticide Labels: From the Ground Up
- University of California: IPM: An Overview for the Consumer
Visual Aids – PowerPoint Presentation
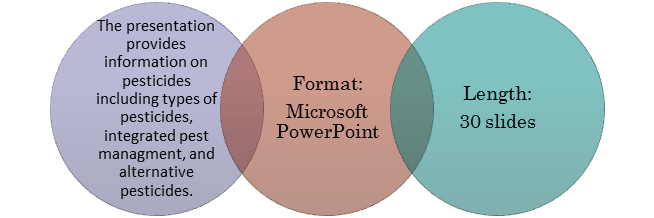
The PowerPoint presentation provided is a prepackaged visual aid that can be utilized to train promotores on the respective theme of the module. It is meant to be adaptable and should be modified according to the audience needs and knowledge base. The information in the presentation is similar to that in the “background” section of this module. Certain terms and/or ideas may not be in the “background” section, thus a separate glossary is provided in this section to assist in defining. Click HERE to download the presentation.
Concept Glossary
- Signal words and images are visual indications that provide information about the level of toxicity or how poisonous the pesticide may be. They are universal images that include caution, warning, and danger. Refer to the presentation for the images. If you would like more information you can look up the following resources: http://pesticidestewardship.org/homeowner/Pages/ReadingtheLabel.aspx
- Personal Protective Equipment - is clothing and barriers worn to protect from contact with pesticides or pesticide residues. They usually include such items as protective suits, footwear, gloves, aprons, respirators, eyewear, and headgear. During pesticide application they reduce exposure by significantly reduce the chances of a pesticide poisoning.
Training Assessments and Extensions
- Review with the promotores the “Do’s and Don’ts of Pesticides” PowerPoint presentation and engage them in a group discussion. Have them fill out the “What is the problem?” worksheet and discuss their observations as a group.
- Have them brain storm the alternative pesticides that they have used in and around their home. Have them create a group list. Compare what they come up with to the chart in the module on page 11.
Concept Activities
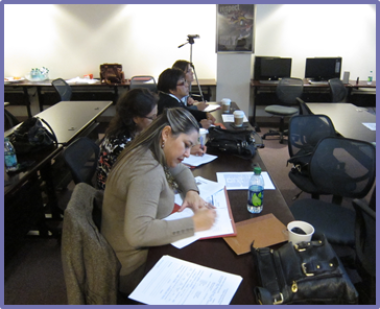
These complimentary activities were designed to provide a hands-on component to the module trainings. They may be used to demonstrate a concept to visual learners or reinforce ideas presented to ensure comprehension. The activities have been divided into three sections (warm up, activity, and wrap up) in order to guide promotores through the concept(s). Also, some activities have “cheat sheets” for the trainer or handout materials that can be copied and handed out to the promotores at the training. Similar to other components in these modules, they may be adapted as needed considering training time, knowledge base, or available materials.
Activity 1. Glittery Exposure*
Materials
- Glitter
- Hand lotion
- Bucket (sprinkle glitter on the bottom of the bucket)
Warm Up
Mention to the promotores that approximately 87 people die as a result of unintentional pesticide poisoning according to the Center for Disease Control. Tell them that research conducted has revealed that the hands are most likely to be exposed during pesticide application. As a result of this, the group will be observing this type of exposure through the activity.
Activity
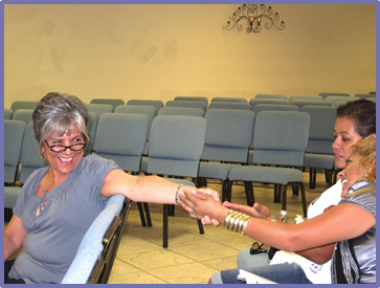
- Get the bottle of hand lotion and pass it around. Instruct the promotores to put lotion on their hands. Also, put some lotion on your hands.
- Place the hand that you use to shake hands at the bottom of the bucket where the glitter is located.
- Go up to a promotor at the front of the room and shake his/her hand.
- Tell him/her to shake the hand of the promotor next to him/her.
- Have them repeat this until all the promotores have had their hand shaken by someone.
- Ask them to look at their hands. How many of them have glitter on their hands?
- Let them know that the glitter represents a pesticide residue left on your hands since you did not use personal protection (gloves) nor did you wash your hands.
- Let everyone wash his/her hands with water and soap to get the glitter off or alternatively you can use hand wipes.
Wrap Up
After they return, state to them that gloves can reduce 99% of exposure to pesticides when it comes to personal protection. It is considered an essential piece of personal protection. In addition, it is important to use chemical resistance glove and the best ones are synthetic (e.g. nitril and neoprene). Ask them what they thought of the demonstration. Are there any additional observations or comments?
*Modified activity from: “Glitter Germs” – A to Z Teacher Stuff
Activity 2. And The Pesticide Labels Says…
Materials
- Pesticide Labels (copies of the labels for each promotor)
- Notepads
- Writing utensils
Warm Up
Ask the promotores how many of them read the label on a pesticide bottle before they use it? If some of them or all of them read the label, follow-up by asking them what information do they find on a pesticide label. If none of them read the label, ask them why don’t they read the label?
Activity
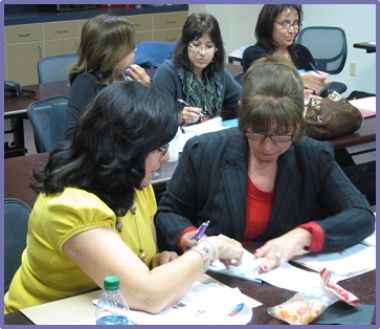
- Have them form pairs or small groups.
- Pass out the notepads and writing utensils to each pair promotores or group.
- Tell them that you will be handing out pesticide labels and you would like them to take a minute or two to study them.
- Pass out the pesticide labels.
- Now, have them answer the following questions:
- What is the pesticide intended to kill?
- What is the active ingredient?
- What are the first aid indications?
- How should the pesticide be used or what are the product directions?
- Are there any warning or caution statements?
- How should the pesticide be disposed of after use?
- Once they have jotted down their answers, have them share out loud to the group what they come up with. What additional information did they find on the label?
Wrap Up
Let them know that they should read pesticide labels before they buy a apply them. Remind them that protection of human health and the environment against the harmful effects of pesticide is based on: 1) registration of pesticides bought and sold with the US EPA, 2) pesticide labels must provide the user with safe handling information, and 3) pesticides must be used according to the indications on the label in order to achieve effective pest control.
Activity 3. What is the problem?
Materials
- What is the Problem? Worksheet (one copy per promotor)
- Computer (PowerPoint capability)
- Projector (connect the projector to the computer)
- PowerPoint slide presentation containing the Pesticide Scenario Pictures (load the slides on the computer)**
- Writing utensils
**Preload the slides prior to the beginning of the activity. If you do not have access to a computer and projector, you can alternatively make copies of the slides and provide a set to each of the promotores.
Warm Up
Begin the activity by reminding the promotores that one of their major functions as community health workers is to educate. In addition, promotores provide invaluable advice that can help change behaviors when it comes to health choices. With this in mind, let the promotores know that they will be spotting “don’ts” in pesticide scenarios that will be shown on the PowerPoint slides.
Activity
- Hand out copies of the “What is Problem?” worksheets to each of the promotores along with a writing utensil (if needed).
- Display the pesticide scenario photos, either on the projector or as a handout, and have them fill out the “What is the problem?” worksheet.
- Provide the promotores enough time complete the worksheet.
- After they are done, review as a group the problems that the observed and the potential corrections that they suggest.
- Engage the promotores in a group discussion.
Wrap Up
Conclude the activity by stating that many times their work involves going into people’s homes or businesses in order to discuss diverse health themes. Also, they may have the opportunity to visit agriculture fields, local businesses, or industrial sites as part of their outreach work. With this, they have the potential to observe and recommend corrections that can help people make changes that can safe guard their health.


